If we can measure it, we can make it
Optical fabrication metrology plays a critical role in all of our processes. Our commitment to supplying the highest standard of optics is reflected by continuous investment in the latest technology covering a multitude of different capabilities:
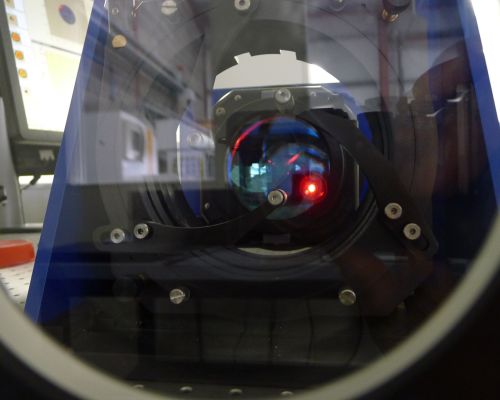
Flatness, transmitted wavefront distortion and form error of optical components
Optics up to 500mm diameter
MPO’s 6” (152.4mm) and 18” (457.2mm) interferometers, allowing us to test flat substrates up to 500mm in diameter. This complements MPO’s polishing and coating capabilities and ensures we can provide large and small optics with high surface flatness after coating.
Curved (spherical) surfaces
The smaller, 6” interferometer is also linked to a 2m track allowing the testing of the form error of curved (spherical) surfaces.
Where the track of the 6” interferometer is not long enough and no commercial solution available, MPO can still help. Aware of the limitations of commercially available track we have constructed our own point diffraction interferometer (PDI) allowing us to measure the form of any spherical surface.
The metrology laboratory is designed to measure and verify focal lengths up to 10m.
Verification of Optical coating performance
The spectral performance of optical coatings from 190nm up to 3μm is verified by one of MPO’s two spectrophotometers. They allow the spectral testing at different angles of incidence and different polarisations. While many spectrophotometers are limited to the testing of optics up to 2”/51mm in diameter, we can test optics up to 16″/400mm in diameter.
Group Delay Dispersion (GDD)
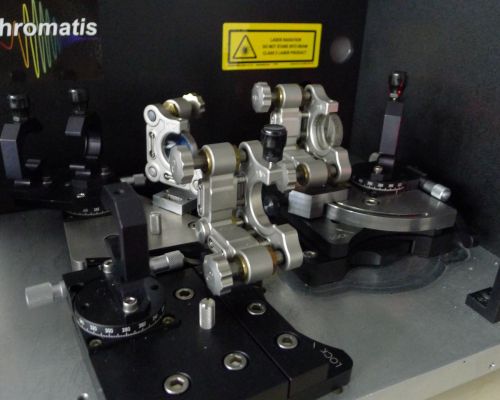
When purchasing optical components for use with ultrashort pulses it is important to know their group delay characteristics. MPO provides the relevant data utilising its white light interferometer that allows the measurement of the group delay (GD), group delay dispersion (GDD) and the third order term at variable angles.
Scatter losses can be measured in house using MPO’s setup for scatter measurement which utilises a HeNe laser and an Ulbricht sphere. The scatter measurement setup is regularly verified utilising round robin measurements involving international laboratories.
The verify the function of retardation plates, we use a polarimeter that can measure the performance of retardation plates up to 6”/152mm diameter.
For some high-energy laser applications it is important to know the reflected phase shift of the optical component. MPO’s arsenal of metrology covers this as well and the company can provide reflected phase measurements.
Verification of angle tolerances in cube polarisers, roof mirrors and other optics
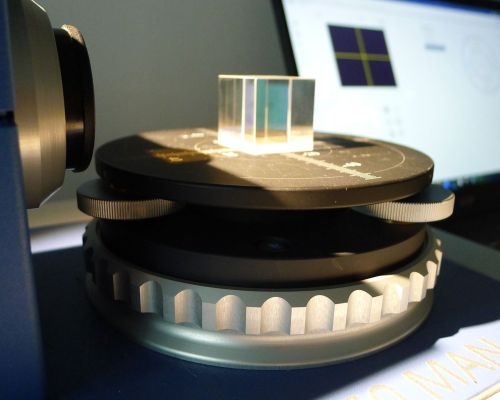
To verify the angle tolerances and beam deviations in cube polarisers, roof mirrors and other, similar assemblies that require accurate angles we utilise a modern, computerised autocollimator (Trioptics Prism Master) that allows the measurement of angles up to an accuracy of less than one second of arc.
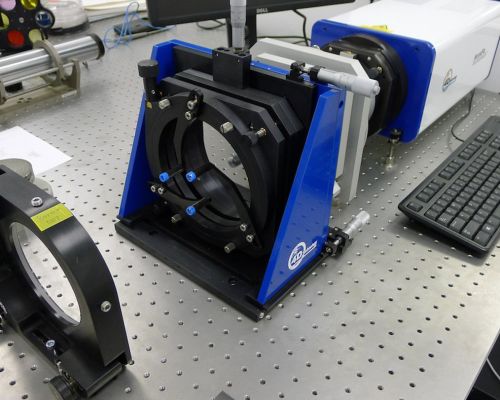
Verifications of high precision thicknesses
To achieve a very precise measurement of the thickness of optical components such as etalon spacers or solid etalons MPO uses a laser interferometric gauge that can measure thicknesses to a tolerance in the nanometre regime.

